Posts

Showing posts with the label Fall Cards

Fall Birthday Card

Image
This is the first card I designed when I received my Beauty & Joy stamp set. I would have used it at my stamp class, but one of my regular attendees doesn't like to fussy cut, which is how I cut out the leaf after stamping with a retired stamp set.  I actually cut it from the Mossy Meadow piece that has only the edges showing. The way I cut things with scissors from the middle of a piece of card stock is to punch a hole first so I can insert my scissors without bending the card stock. I love the acrylic shapes we used to have that came in every color family. Since I still have some left, I had to use one on this card. Products Used: Beauty & Joy photopolymer stamp set (13), 150518, $16.00 Gently Falling retired stamp set Teeny Tiny Wishes retired stamp set Whisper White 8-1/2" x 11" card stock (40), 100730, $9.75 Mossy Meadow 8-1/2" x 11" card stock (24), 133676, $8.75 Terracotta Tile 8-1/2" x 11" card stock (24), 150884, $8.75 ...

Beauty & Joy Note Card for Fall

Image
In the process of designing for my classes, I usually go through several designs before settling on the one we will make. This is one of the "pre-designs" that I didn't think I cared for at first. Funny how setting cards on a shelf and looking at them later changes my mind. Now I really like this one. And it was really quite easy. Products Used: Beauty & Joy photopolymer stamp set (13), 150518, $16.00 Crumb Cake 8-1/2" x 11" card stock (24), 120953, $8.75 Early Espresso 8-1/2" x 11" card stock (24), 119686, $8.75 Calypso Coral 8-1/2" x 11" card stock (24), 122925, $8.75 Very Vanilla 8-1/2" x 11" card stock (40), 101650, $9.75 Crumb Cake Classic Stampin' Pad, 147116, $7.50 Early Espresso Classic Stampin' Pad, 147114, $7.50 Calypso Coral Classic Stampin' Pad, 147101, $7.50 Nature's Twine, 3 colors, 5 yards each, 146342, $9.00 Stitched Nested Labels, 9 dies, 149638, $35.00

Thankful Beauty & Joy

Image
Beauty & Joy is another of those stamp sets that is so versatile because it can be used for all seasons. This card, made at my October class, includes quite a bit of dry embossing. It's difficult to see the Pinewood Planks embossing on the Early Espresso card stock. Actually, I had originally designed the card using Soft Suede but cut Early Espresso for the class instead. It still looks good but, truth be told, I much prefer the original with the Soft Suede. But I have already given that one away without photographing it. That first one was a birthday card while this is a Thanksgiving/thank you card. I've actually used one of these, too. Products Used: Beauty & Joy photopolymer stamp set (13), 150518, $16.00 Very Vanilla 8-1/2" x 11" card stock (40), 101650, $9.75 Pumpkin Pie 8-1/2" x 11" card stock (24), 105117, $8.75 Crushed Curry 8-1/2" x 11" card stock (24), 131199, $8.75 Early Espresso 8-1/2" x 11" card stock (24), 11...

Harvest Blessings

Image
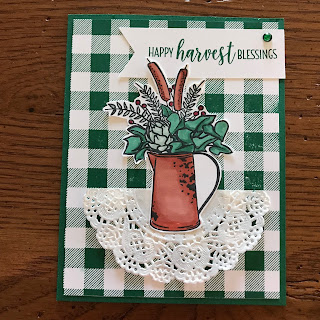
I lay in bed the night before my stamp class thinking about this design. I really wanted to use the Buffalo Check background stamp and I just love the Country Home stamp set, so I brought them together for this card. Yes, it took some fussy cutting, but the ladies at my stamp class don't mind that part of the craft. I still have quite a few doilies left from last year's catalog and this was the perfect design to use some up. Notice the rhinestone in the upper right hand corner. I colored that with my Dark Shaded Spruce Stampin' Blend. What a perfect complement to the card! Products Used: Country Home photopolymer stamp set (14), 147679, $21.00 Buffalo Check rubber background stamp, W 147797, $20.00; C 147794, $15.00 Shaded Spruce 8-1/2" x 11" card stock (24), 146981, $8.50 Whisper White 8-1/2" x 11" card stock (40), 100730, $9.75 Shaded Spruce Classic Stampin' Pad, 14088, $7.50 Memento Ink Pad, 132708, $6.00 Cajun Craze Combo Pack, Stampin...

From "At Home With You"

Image
I have been incredibly busy preparing for a holiday bazaar that took place Friday and Saturday at LeTourneau Christian Camp. I'll post pictures after Thanksgiving. I will have a full house tomorrow and still have some baking to do, although my daughters have pitched in to help with the food. Since we just filled our freezer with a meet order, I haven't been able to freeze things ahead this year. I'm trusting there will be enough space soon to bake and freeze Christmas cookies. As excited as I was to get the stamp set, "At Home With You", I haven't worked with it to speak of. I have the coordinating dies, too, but didn't use them for this card. I wanted a card with a fall flavor to add to my collection of Christmas and everyday cards. This is just one of them. By stamping the image with Archival Basic Black ink, I was able to use markers to color in the details, often using the narrow tip. I have just begun collecting the Stampin' Blends and used th...

Final Three

Image
Sorry it has taken so long to finish posting the "Eight Cards in a Flash".  Here are the final three cards we made (see previous posts for more information). All cards include designer paper created by stamping all over an 8-1/2" x 11" sheet of Whisper White card stock using the Painted Harvest stamp set and Crushed Curry, Cajun Craze, Soft Suede and Tranquil Tide Classic Stampin' Pads. This first card also uses the retired Acorny Thank You stamp set with its coordinating Acorn Builder Punch.  The card below employs the Stylized Birthday stamp (page 80 in the annual catalog). This final card is made with the Basket of Wishes stamp set and blender pens.

And Still More

Image
I truly love the Painted Harvest stamp set and making my own designer paper was so much fun. I have to admit that the second time I stamped a full sheet of sunflowers, acorns and leaves, I placed the flowers closer together. I stamped the flowers first and then added the leaves, acorns and dots. But the cards I am sharing are the ones I made as samples before my class, "Eight Cards in a Flash". I thought it would be fun to have a sunflower peeking out from behind the designed layers. Add a ribbon and a greeting and I have a great Thanksgiving card. For this card, I used the sunflower as the focal point. I had a somewhat crumpled half doily laying around, so I scraped some Crushed Curry ink across its surface to use on my card. My original intention was to stamp the words in Tranquil Tide in the bottom right corner, although stamping the words all over was not part of that original plan, hence the blank space. But somehow I picked up one of the dimensional pap...

Two More from Eight Cards in a Flash

Image
This post is a continuation of yesterday's as I show more individual cards from my recent class. Now that I've learned this method of cutting my card stock, I just might cut colored card stock coordinating with various designer series paper packs and keep them together so I can throw cards together in a minimum of time. Here are the directions for cutting the Tranquil Tide card stock: Cut in half lengthwise, 4-1/4" x 11" each Rotate and cut one of those pieces in half, 4-1/2" x 5-1/2"; cut those two pieces in half, giving you four pieces measuring 2-1/8" x 5-1/2". Rotate the other original half sheet and cut at 2-3/4" three times, resulting in four pieces 2-3/4" x 4-1/4". [I must give credit for these measurements to Connie Stewart of Simply Simple Stamping.] Products Used: Painted Harvest photopolymer stamp set (13), 144783, $21.00 Basket of Wishes photopolymer stamp set (11), 142200, $17.00 Whisper White 8-1/2"...

Eight Cards In A Flash

Image
At my recent class, I chose to show how we could make eight cards quickly by using one sheet of colored card stock and one sheet of Whisper White card stock to adorn eight card bases. We made our own designer paper and cut it into eight pieces that nestled nicely into eight pieces of colored card stock, Tranquil Tide in this case. After stamping all over the Whisper White card stock, we trimmed off 1/2 inch lengthwise. We then cut that paper in two, resulting in two pieces measuring 4" x 11". We then cut each of those halves into four pieces. We did the same thing, but keeping the 1/2 inch, with the Tranquil Tide card stock. The stamped pieces fit perfectly on the colored pieces. Of course, the idea was to keep the rest of the stamping simple, but I always struggle to keep things simple, constantly finding things to add to my cards. But they were still quick and eight cards were put together with minimal waste. Here is a picture of all eight cards. I will post the ...

Twist on Emboss Resist

Image
I was wowed by this technique! In fact, I had a hard time believing it would really work out the way it was supposed to. But it did and my stamp class attendees just loved it. More time consuming than some techniques, but definitely worth it. First we sponged fall colors all over a piece of Very Vanilla card stock. Then we stamped leaves with Versamark and embossed with clear embossing powder. Finally, we used our brayers to roll Early Espresso ink all over the surface, wiping off excess ink with a tissue. Then our images were ready to cut out with framelits. [Admittedly, I used our old style brayer instead of the new sponge brayers.] It is very difficult to see your stamping with VersaMark and therefore easy to overlap your images. Here's a trick I thought of after the fact: Use your large acrylic block and place all the stamp images you wish to use on the same block. Proceed with the technique. Just make sure you apply pressure all over the surface of your block. I have two...

Framelit Stencil

Image
I had so much fun designing cards with a fall theme and picking up new techniques while I was at it. I even learned to sponge properly as I made this card and then taught my sister stampers. In the past, I daubed my inked-up sponges but now I understand the importance of sponging off on scrap paper and then sponging in smooth circular motion to avoid the spotty look. I'm still trying to remember that technique because my natural method seems to be to bounce my sponge. I think this would make a great Thanksgiving card or a birthday card, depending on what you put inside. It could even be a thank you note. My first step was to make a stencil by cutting a maple leaf from scrap paper, using one of the Leaflets Framelits. I then held that on my Very Vanilla cardstock and started sponging, beginning with the lightest color ink. You'll see where I haven't quite perfected the technique. Anyway, sponging in circles I tried to avoid the center to give the sense of light, al...

Autumn Basket of Wishes Card

Image
My customers voted to postpone our Foxy Friends class so we could do a class of Fall cards. One of the cards we made used the new Basket of Wishes stamp set and involved painting with Blender Pens. I love this stamp set. I the sunflowers in the basket with curved handles on a gift bag of sorts (see a previous post). There are strawberries and succulents, as well as a quart basket to choose from. Plus greetings! I was using up some Candy Dots and Pumpkin Pie cotton ribbon on this card, products that have been discontinued. Products Used: Basket of Wishes photopolymer stamp set (11), 142200, $17.00 Old Olive 8-1/2" x 11" cardstock (24), 100702, $8.00 Pumpkin Pie 8-1/2" x 11" cardstock (24), 105117, $8.00 Very Vanilla 8-1/2" x 11" cardstock (40), 101650, $9.00 Basic Gray Archival Stampin' Pad, 140932, $7.00 Miscellaneous inks: Crumb Cake, Always Artichoke, Pumpkin Pie, Old Olive, Delightful Dijon, and Pear Pizzazz Brick Wall 6" x 6" ...

For All Things

Image
My last stamp class included one Thanksgiving card along with three Christmas cards. The stamp set, For All Things, makes such simple yet beautiful cards. I actually made this card again as a Fall birthday card. Sponge daubing made the greeting pop, especially as the whole piece was raised with Stampin' Dimensionals. A little Dazzling Details on the acorn caps provided extra bling. My just-turned 6-year-old granddaughter joined our class, demonstrating how easy it is for anyone to stamp and make cards. She's such a bubbly little girl that she added lots of fun to our class. Here she is holding up the cards she made: She attended the class and then stayed the night with me, which is why she's in her nightgown for the second picture. We had such fun! Products Used: For All Things stamp set (8), W 135152, $25.00; C 135155, $18.00 Very Vanilla 8½" x 11" cardstock, (40), 101650, $8.50 Tangelo Twist 8½" x 11" cardstock (24), 133677, $7.00 Tang...

In the Forest

Image
Fall is fast approaching and it's time to design cards accordingly. I know this idea is not new and I've been wanting to try my hand at it. It turned out so well and wasn't hard at all, so I taught it to my stamp class last week. Although it doesn't show up as well in this photo, I sponged chocolate chip along the bottom and between the trees to look like a path. Using a sponge dauber, I added sunlight. Admittedly, I used scrap paper to mask parts of the tree when stamping it elsewhere. My original intent was to make what would look like a very large tree, but I like the "forest" result. Products Used: Sheltering Tree stamp set (14), P 137163, $25.00 For All Things stamp set (8), W 135152, $25.00; C 135155, $18.00 Very Vanilla 8½" x 11" cardstock (40), 101650, $8.50 Pumpkin Pie 8½" x 11" cardstock (24), 105117, $7.00 Early Espresso Classic Stampin' Pad, 126974, $6.50 Chocolate Chip Classic Stampin' Pad, 126979, $6.50 Pear...

Wondrous Wreath for Autumn

Image
I so love the "Wondrous Wreath" stamp set, especially after realizing how easily it can be used for seasons other than Christmas. For this card, I chose to make it look like the wreath is hanging on a door, using a retired brad for the door knob (although our candy dots will work just as well). I raised up "panels" on the door with Stampin' Dimensionals after sponging the edges and some of the "door" itself with Chocolate Chip ink. For the multi-colored leaves, I squirted a few drops of ink from bottles of our refill onto a baby wipe which was folded and laying in a plastic tray. That became my ink pad. I stamped the second layer of leaves in Pumpkin Pie. How incredibly easy to line everything up with these Photopolymer stamps! I could have stamped the bow from the set and cut it out with the coordinating framelits, but decided I really wanted the soft dimension of our new cotton ribbon.  Using the "Grateful for You" greeting from the ...

Hello Fall

Image
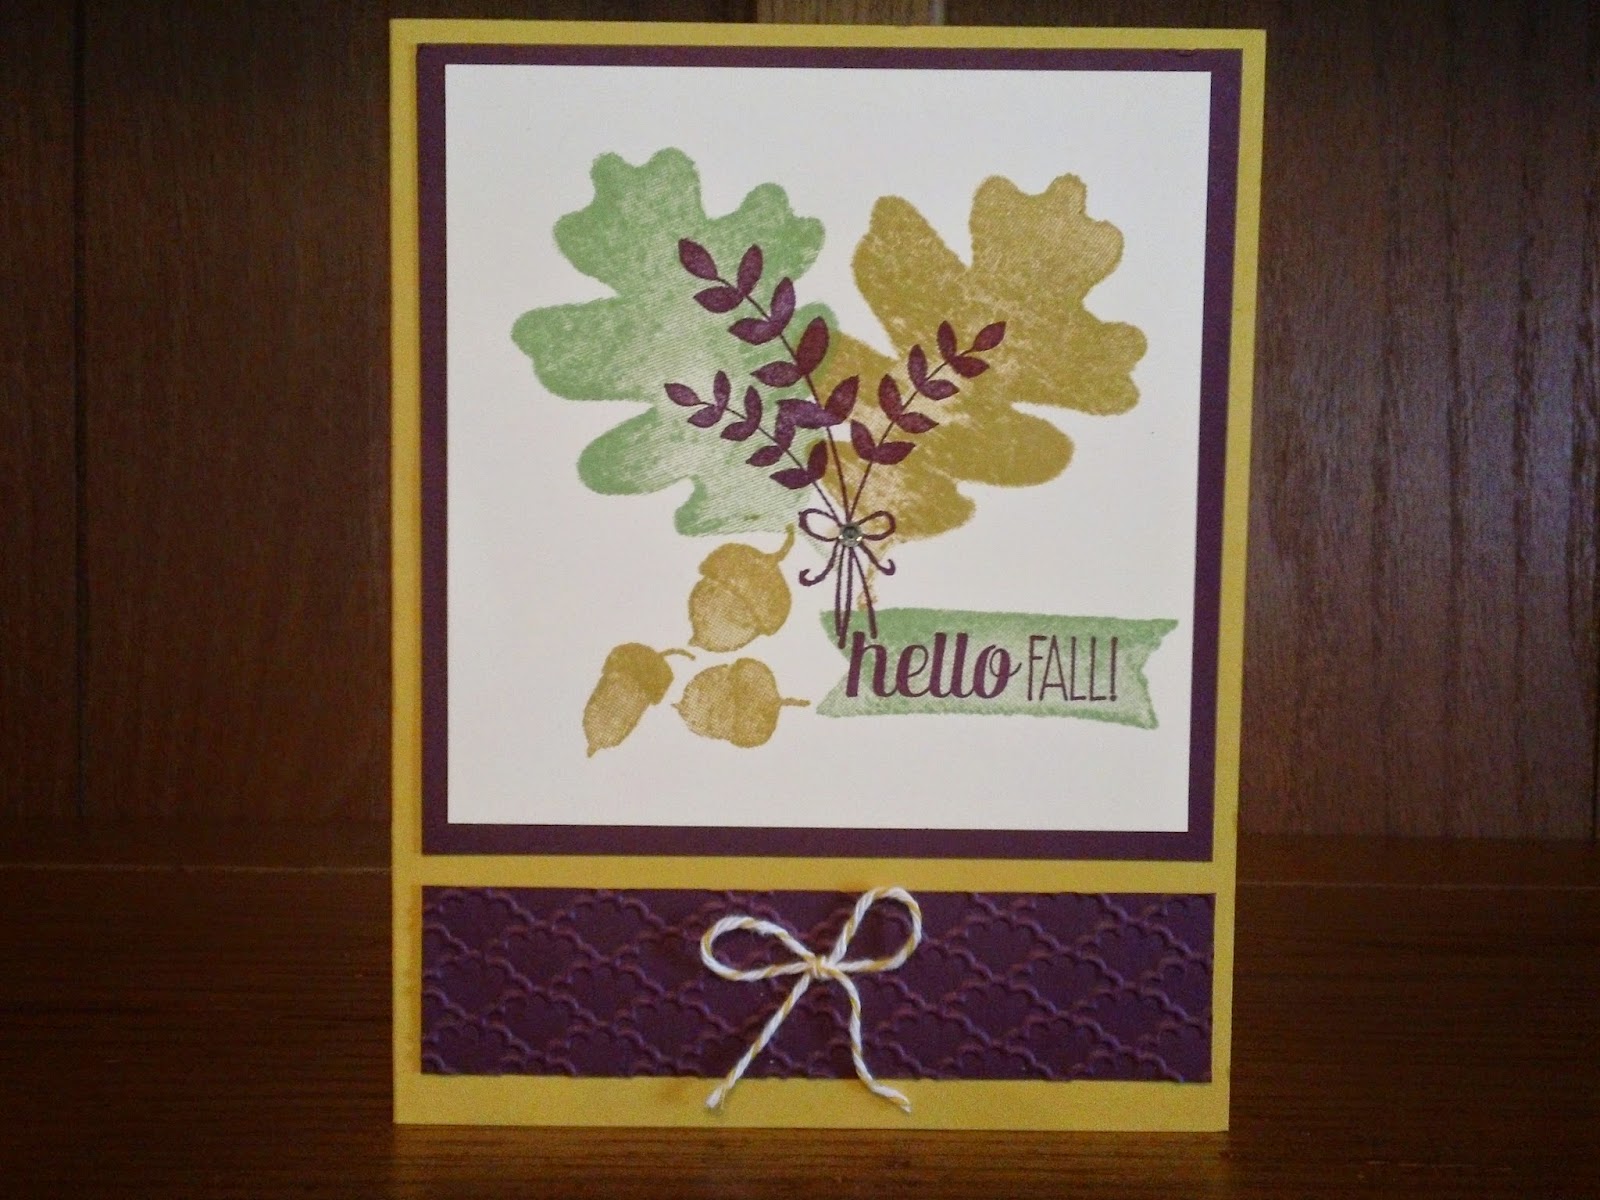
I don't know what the weather is like where you live, but we've had a longer than normal summer and it has been fall-like for only a couple weeks. Leaves are turning, leaves are falling, and yet some trees are still garbed in green.  As I designed cards for my last two classes, I included both fall and Christmas. As I design cards, I often find them nice, but... That happened with this card. It was the bow on the strip of dry embossed Blackberry Bliss card stock that gave me the result I wanted. When I stamped the leaves, I wanted them  to "tie together", which I accomplished with the Blackberry Bliss cluster that include their own bow. I'm not sure you can see it, but I also added a tiny rhinestone to the center of the stamped bow.  Products Used: For All Things stamp set (8), W 135152, $24.95; C 135155, $17.95 Hello Honey 8½" x 11" card stock (24), 133678, $6.95 Blackberry Bliss 8½" x 11" card stock (24), 133675, $6.95 Whisper Whi...

Falling Leaves with Work of Art Stamp Set

Image
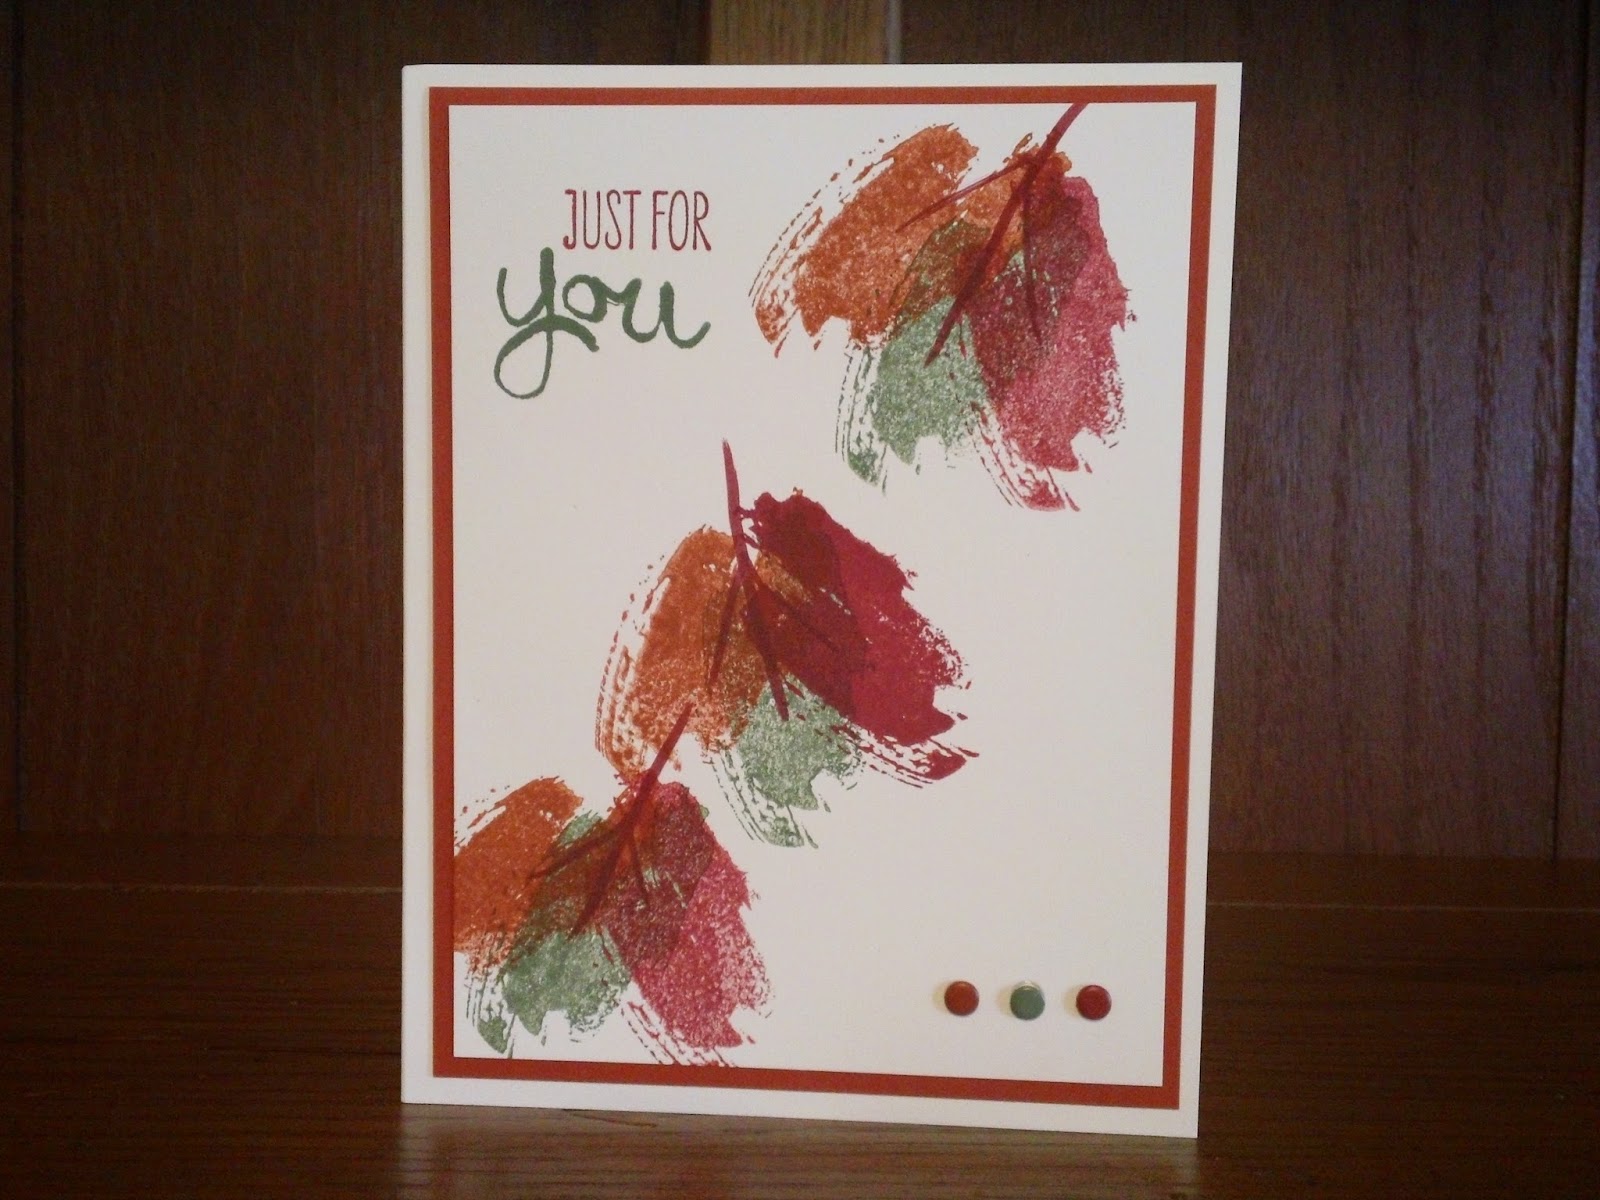
Although figuring out how to make the falling leaves in this card was a challenge, the end result is a very simple yet elegant card. My class attendees loved making it because it went together so quickly and easily. I actually went out to our maple tree and plucked a leaf to study the colors before working on these leaves. I began with Always Artichoke ink and then added the Cajun Craze to the left. Each time I stamped, I tried to overlap at the top center. I finished them with Cherry Cobbler. The stamping (except for one forgotten Cherry Cobbler application) of the leaves is all second generation (ink rubber, stamp on scrap paper and then stamp again on your card piece). I finished them off with "brush strokes" for stems and veins using my Cherry Cobbler Stampin' Write marker. The words are stamped with Cajun Craze and Always Artichoke. The finishing touch was done with three candy dots, one in each of the main colors. Products Used: Work of Art stamp set (11...

Designer Paper?

Image
Once started, I played some more with the same colors and stamp set to create my own designer paper (see previous post). Yes, it involved some cutting (acorns) and tying a bow, but it was still a fairly simple design. I think this card could be used as a note card or converted to a birthday card. A little sponging with a sponge dauber around the edges of the die-cut piece and some Stampin' Dimensionals make the greeting pop. Products Used: For All Things stamp set (8), W 135152, $24.95; C 135155, $17.95 Very Vanilla 8½" x 11" card stock (40), 101650, $8.50 Pear Pizzazz 8½" x 11" card stock (24), 131201, $6.95 Blackberry Bliss 8½" x 11" card stock (24), 133675, $6.95 Pear Pizzazz Classic Stampin' Pad, 131180, $5.95 Blackberry Bliss Classic Stampin' Pad, 133642, $5.95 Blackberry Bliss 3/8" Stitched Satin Ribbon (10 yards), 133668, $8.95 Apothecary Accents Framelits (4), 127003, $24.95 Sponge Daubers (5), 133773, $4.95

Designing with For All Things Stamp Set

Image
I was drawn to the "For All Things" stamp set in the holiday mini catalog this year and have made several cards using it. This first card was inspired by another one I had seen using a piece of designer series paper from the "Color Me Autumn" packet. I wasn't sure I was happy with the card when I first finished it; something was missing. Amazing what the simple addition of a button (retired) did for the card! I used just two colors, Blackberry Bliss and Pear Pizzazz, with the neutral Very Vanilla. Products Used: For All Things stamp set (8), W 135152, $24.95; C 135155, $17.95 Very Vanilla 8½" x 11" card stock (40), 101650, $8.50 Pear Pizzazz 8½" x 11" card stock (24), 131201, $6.95 Blackberry Bliss 8½" x 11" card stock (24), 133785, $6.95 Pear Pizzazz Classic Stampin' Pad, 131180, $5.95 Blackberry Bliss Classic Stampin' Pad, 133642, $5.95 Blackberry Bliss 3/8" Stitched Satin Ribbon (10 yards), 133668, $8.95 ...

Day of Gratitude

Image
This card, also made at my recent stamp class, was inspired by one of the samples shown in this year's core catalog on page 26. When adding texture to your cards with one of our embossing folders, it is important to stamp your images before running the card stock through the Big Shot. Since I had no More Mustard buttons left in my button box, I cut this one out with the Sweet Buttons Embosslit, which embosses and cuts 6 different buttons in one step. Products Used: Day of Gratitude stamp set (7), W 120835, $26.95; C 121148, $18.95 More Mustard 8½" x 11" card stock (24), 100946, $6.95 Riding Hood Red 8½" x 11" card stock (24), 111348, $6.95 Early Espresso 8½" x 11" card stock (24), 119686, $6.95 Always Artichoke 8½" x 11" card stock (24), 105119, $6.95 Very Vanilla 8½" x 11" card stock (40), 101650, $8.50 More Mustard Classic Stampin' Pad, 126964, $5.95 Riding Hood Red Classic Stampin' Pad, 126968, $5.95 Early E...