Posts

Showing posts from February, 2015

New SAB Products Available

Image

Putting It Together

Image
A few weeks ago I began sharing cards I made with my demonstrator team at a day of stamping. I ran out of time and took the kit for this card home with me. However, I failed to take a picture of it and ended up making my own design from the parts. The colors are Calypso Coral and Smokey Slate, as well as Basic Gray. I had re-inked my stamp pad and over-inked it, which is why the lettering turned out as it did. The Lotus Blossom stamp set and the polyester ribbon come from the Sale-A-Bration catalog and cannot be purchased - only earned with the expenditure of $50 in Stampin' Up! product. The Lotus Blossom stamp set is my favorite set in the catalog and, so far, the only one I own. I still have time to earn more sets because the catalog stays in effect through the end of March.

Taking the Challenge

Image
My upline offers a monthly "Creative Challenge" using certain products in the catalog. I signed up for this one because I knew I would love the Artisan Embellishment Kit. After I played with the kit and designed four cards, I really struggled with the decision as to which one I would enter (others will vote on the cards submitted) and finally decided on this card. It had my husband's vote. The other one that I almost entered was posted on Saturday. I used the same technique on this card as on card I last posted but with Rose Red Classic Ink this time. The two cards are totally different, as you can see. Since I like the font and the size of the greeting from the hostess set, Bloom With Hope, you'll discover I use it often. The die-cut card, lace and large metal button are from the Artisan Embellishment Kit. Products Used : Bloom With Hope (11), use Hostess Dollars: W 133949, $23; C 133952, $17 Rose Red 8½" x 11" card stock (24), 102544, $6.95

More Artisan Embellishments

Image
I am so bummed that there are only two of these die-cut cards in the Artisan Embellishment Kit! I love using them! A technique I enjoyed using for this card and one other is done with sponge daubers. I cut a piece of Whisper White card stock the same size as the kit's die-cut card and sponged on the Blackberry Bliss ink, beginning in the approximate areas of each rose center. I love the shaded effect that resulted. After gluing on the die-cut card, I mounted that on Blackberry Bliss card stock and tied the velvet trim from the Artisan Embellishment Kit around it. The pearls from the kit were the last item I added to the card. Products Used: Blackberry Bliss 8½" x 11" card stock (24), 133675, $6.95 Rich Razzleberry 8½"x 11" card stock (24), 115316, $6.95 Whisper White 8½" x 11" card stock (40), 100730, $8.50 Artisan Embellishment Kit,  137909, $9.95 Spring Flowers Textured Impressions Embossing Folder, 137365, $7.95 Sponge Daubers (5), 133

Stippled Blossoms Once Again

Image
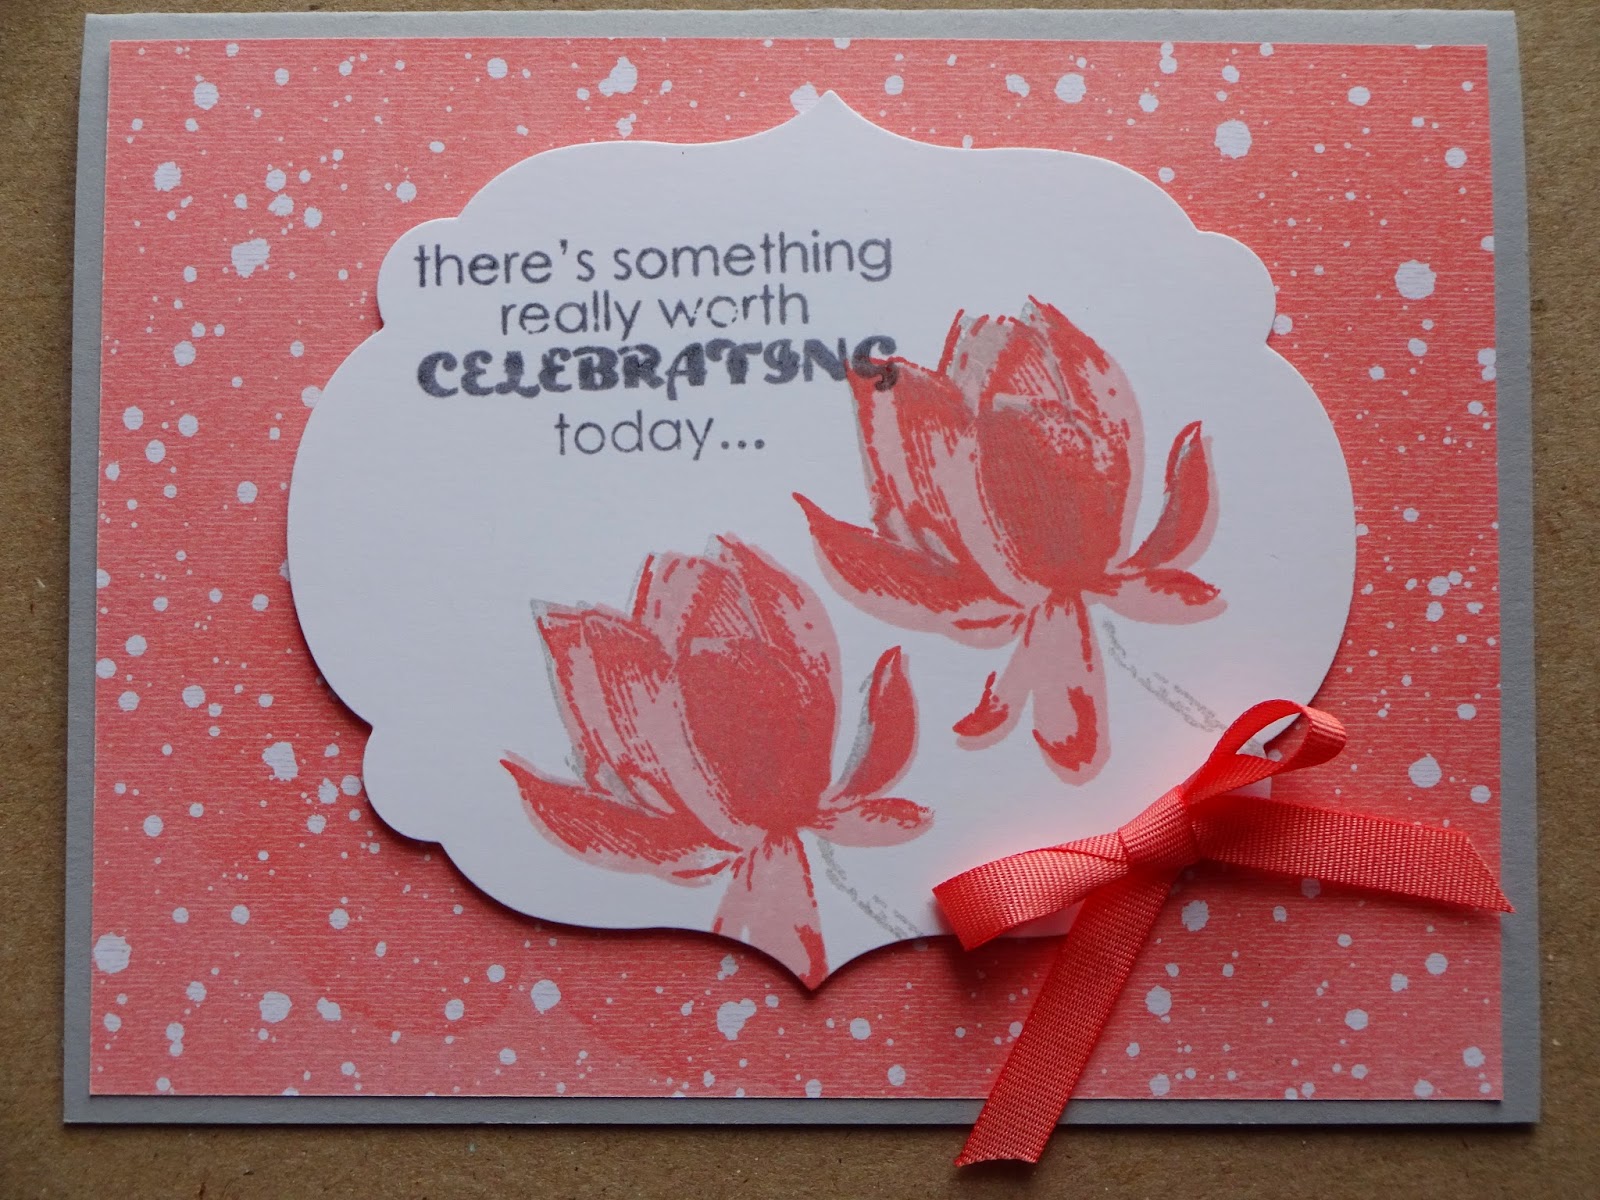
I'm using the Stippled Blossoms stamp set with elements from the Artisan Embellishments Kit once again. The kit suggested another color combination I never would have thought to use—Blushing Bride and Blackberry Bliss. I took three rosettes from the rosette trim and pressed them lightly into the Blackberry Bliss Classic Stampin' Pad to mimic the colors on the stippled rose and then added pearls to the enters. Admittedly, they were hard to insert. Products Used: Stippled Blossoms stamp set (10), W 132076, $26.95; C 126747, $18.95 Bloom With Hope stamp set (11), Hostess set, W 133949, $23; C 133952, $17 Blushing Bride 8½" x 11" card stock (24), 131198, $6.95 Mossy Meadow 8½" x 11" card stock (24), 133675, $6.95 Blackberry Bliss 8½" x 11" card stock (24), 133675, $6.95 Whisper White 8½" x 11" card stock (40), 100730, $8.50 Blushing Bride Classic Stampin' Pad, 131172, $5.95 Blackberry Bliss Classic Stampin' Pad, 13364

Loving Those Artisan Embellishments!

Image
Oh, I'm in love with the Artisan Embellishments Kit! I think I'm going to have to do a product-based class using them. Probably not until April since February is "Think Spring" and March will be in anticipation of Easter. I think the Stippled Blossoms stamp set coordinates beautifully with the rose theme of the kit. For this card, I did what some of my customers hate—I used paper snips to cut out my stamped images. When I mounted the doily on my Designer Series Paper, I discovered too many of the leaves showed through, so I cut a circle from Wild Wasabi card stock to put behind it. Just what it needed. I'm not sure if you can see it or not, but I brushed a little Blushing Bride ink on the doily here and there. The Rose Red lace and Blushing Bride resin flowers and rosette are from the Artisan Embellishments Kit. Truth be told, I never would have combined Blushing Bride and Rose Red if the kit hadn't done so. I would have used Pink Pirouette instead. But I do

A Happy Thing Stamp Set

Image
I'm sharing four more cards from our team stamping day featuring products from the Sale-a-Bration mini catalog (good through March 31). I always liked the little bird in this set, but couldn't picture what I would do with the lemons. Aly did a great job of designing. I also like the designs in the SAB catalog. Notice the versatility of the same stamps accomplished simply by different layouts. For this first card, we stamped the lemon on a piece of Daffodil Delight card stock and cut it out. No need to color for the lemon to stand out.  For this card, however, we colored the stamped image with Stampin' Blendabilities Markers. Notice how we did not color the center of the lemon. However, we did use the Color Lifter to pull a little color in, acquiring more of a "fade". The bird on this card is full of bright colors. Such fun! Yet the card is very simple. Notice the candy dot, sequin and tiny jewel.  Totally different look to this bird just because of the

Sheltering Tree in the Snow

Image
I love the Sheltering Tree stamp set in the Occasions Mini Catalog! I've used it twice now for winter birthdays. I'm looking forward to using it with a spring theme for my upcoming class in February. This first card has a golden look, using Crumb Cake and Early Espresso. I used one of the Delicate Designs Textured Impressions Embossing Folders across the bottom of this card. The same image went on the front of this card for my son-in-law with lots of silver this time. I used a little Smoky Slate for the snowy ground and then added some Silver Metallic Encore Ink over and next to it. The card is Night of Navy, as is the tree, with lots of silver snowflakes. The Silver Glimmer Paper really made the card sparkle.

Irresistibly Yours

Image
I am so excited to have this incredible specialty designer series paper from Stampin' Up! It's only available through March 31st and costs absolutely nothing! Of course, because it's part of the Sale-a-Bration promotion, you must spend $50 on other product in order to receive it. And you'll find so many other fun things in the Sale-a-Bration mini catalog! When you open the package of paper, you'll think it's pure white with some hard-to-see designs. However, once you spritz or sponge with color—or even roll on ink with a brayer—the design pops. That's because the design resists ink. If you lay on too much color, you can always wipe away the excess with a tissue. The following cards were part of a class for demonstrators on Aly Schilling's Heartfelt Stampers team. Just a few examples of the possibilities with this paper! Even the stamps used on these cards are from the Sale-a-Bration catalog. Plus you'll find the designer series paper us

Stamp, Punch & Cut

Image
One of my regular class attendees sent me a picture of a peacock card someone else had created,  asking me if I could figure out how to make it. I then taught my January class members how to duplicate it. The feathers are made with two stamps from the Flower Patch stamp set and then cut with the coordinating framelits. The peacock's head is the smaller petal framelit from the same Flower Fair set. Even the Pistachio Pudding cut-out behind the peacock's neck is from that set of framelits. The Owl Builder punch supplied other pieces. If you wish to copy this card, I've photographed a couple steps in the process for you:  The leaves were stamped with Pistachio Pudding and, inside, Wild Wasabi. The Honey Mustard and Baked Brown Sugar circles as well as the Pacific Point hearts were punched using the Owl Builder.  These photos were taken while I was creating my first card, which was larger than the final. I discovered that I needed to place each "feather" c

Draft Dodger

Image
It's winter in the north and often quite windy where we live. That means that air leaks under doors and around windows. Hence, the draft dodger (not to be confused with the Viet Nam draft dodgers of the 1960s). I have a snowman draft dodger I made a number of years ago when we still lived in Ohio to block the draft coming up from our basement. My granddaughter loves him and sits him at the table and carries him around with her. So when her mother, my daughter, had a towel rolled up in front of their door, I decided to make her a snowman draft dodger for her birthday. Kyah wanted to pose with him when she realized I had my camera with me. These are her poses—no coaching from me. She is such a bubbly, joyful little girl! I am blessed with four wonderful grandchildren, although the boys are considerably older (16 and 18). I still find it hard to believe I have a grandson in college!

Olaf Bounces on Card Front

Image
What is it about princesses that every little girl loves? Then bring on a movie like Frozen with all its imaginative characters, its icy fantasies and the beloved snowman, Olaf, who falls apart and puts himself back together again. What fun. So, for her third birthday, I just had to give my granddaughter, Karis, a card with Olaf adorning the front. although I gave that one away, I proceeded to make another for my January card class. Somewhat labor intensive, yet it was a labor of love.  And here's a picture of my sweet little granddaughter. Her card had a happy birthday banner in Olaf's "hand". Products Used for the Olaf card: (no stamps) Whisper White 8½" x 11" card stock (40), 100730, $8.50 Basic Gray 8½" x 11" card stock (24), 121044, $6.95 Pumpkin Pie 8½" x 11" card stock (24), 105117, $6.95 Soft Suede 8½" x 11" card stock (24), 115318, $6.95 Basic Black 8½" x 11" card stock (24), 121045, $6.95 Basic

Nuts About You Valentines

Image
When preparing for my January class, I determined to use the Nuts About You stamp set to make a Valentine card [this is a hostess stamp set and can only be purchased with earned hostess dollars]. As so often happens, I was not totally happy with the first card I designed but persevered and came up with one I did like. Then, later, I decided I really did like the first design after all, but I had already made the pre-cuts from the second design. The top one is the one we made in class. Because of the direction the bird faces, the layout of the Very Vanilla card is a better design. Products Used: Nuts About You stamp set (11), W 133943, $14.00; C $10.00 Very Vanilla 8½" x 11" card stock (40), 101650, $8.50 Whisper White 8½" x 11" card stock (40), 100730, $8.50 Cherry Cobbler 8½" x 11" card stock (24), 119685, $6.95 Soft Sky 8½" x 11" card stock (24), 131203, $6.95 Pistachio Pudding 8½" x 11" card stock (24), 131294, $6.95 Che

Meeting a Challenge

Image
I tend to be a very literal person. So when I studied a design layout that was part of a challenge, I copied it exactly, using my own choice of papers, colors, stamps, etc. After scrolling through the other entries, I realized how flexible the challenge really is. Next time I may tweak it a little. But I do like the result of this card. The flower image was stamped twice, once with Hello Honey ink and, turned slightly, again with Baked Brown Sugar Ink. If you look closely, you will see that the Baked Brown Sugar ink didn't cover the center of my stamp. That was accidental, but I like it enough that if I were to use this technique again, I would intentionally remove the ink from the center when using the darker color. The button in the middle of the flower is actually molded Simply Pressed Clay. I had molded a number of buttons and blossoms a while ago so they are completely dry. Since I left the clay white, it is easy to make them whatever color I wish by coloring with a Stampin&

Timeless Talk Belated Birthday Card

Image
It's amazing how many times I begin stamping with a design in mind and either become side tracked or come up with something totally different. That's what happened with this card. I was actually using a design template that was given our demonstrator team. Although I did design another card from that challenge, I found these papers laying together and the idea went from there.  Since I felt the dsp needed a more fun than elegant image, I chose the Timeless Talk stamp set, I haven't used in that set in a while in spite of the fact that I really love it. For this card, I stamped the image right over the more subtle piece of dsp. I really like the result and think it is a cheerful card suitable for a man or a woman. Even the sentiment is stamped on dsp. Products Used: Timeless Talk stamp set (7), W 126605, $22.95; C 126607, $16.95 Remembering Your Birthday stamp set (8), W 131347, $23.95; C 131350, $17.95 Coastal Cabana 8½" x 11" card stock (24), 131297, $6.9